Heads up! This article contains affiliate links. If you choose to purchase a similar product through one of the links below, I may earn a small commission at no extra cost to you. I only recommend products I genuinely use or would recommend.

For many years, I’ve been assigned this classic green bean casserole for our family Thanksgiving dinner. After a quick online search, there seems to be some variation with people trying different things to change it up.
While this may seem great for those Instagram photographs or those jaw dropping Pinterest images, the classic green bean casserole still rules and is the family favorite.
Eventually, I may change things up, but for now, here is how we make our classic green bean casserole.
Gather the Supplies
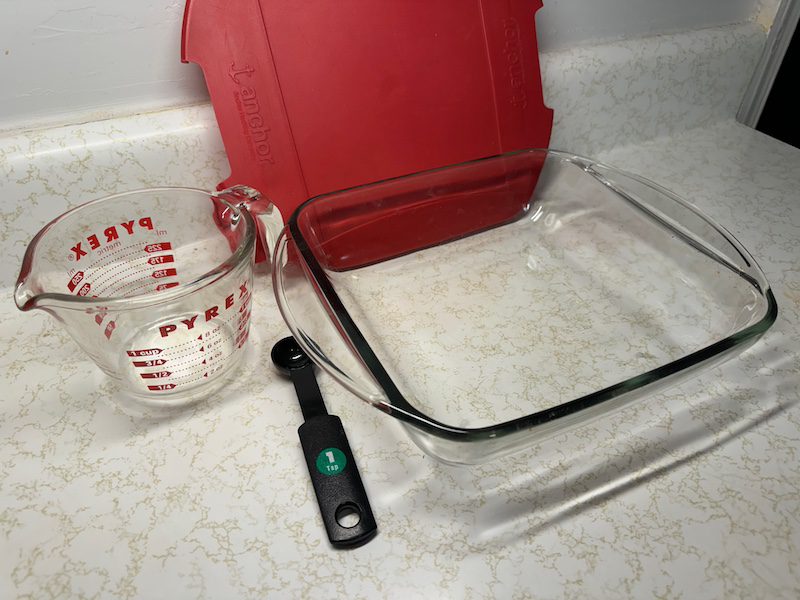
Not much is needed to make this dish, but I’m including what I use here for your reading enjoyment and a reminder to myself.
One 8 x 8 baking dish, or some other fancy dish. Here are a few that stick out for me.
This DOWAN 8×8 Baking dish, Square Baking Pan, Ceramic Casserole Dishes for Oven, Cake Pan with Handle, for Brownie, Lasagna, Casserole, 2 Quart, Home Gift, White, baking dish is pretty nice.
Of course since we already have a glass 8 x 8 dish similar to this Pyrex 222 Basics Square Glass Baking Dish – Original Genuine Pyrex (8in x 8in x 2.5in) one. That is what we’ll be using today.
You’ll need a knife similar to this one: Amazon Basics Classic 8-inch Chef’s Knife with Three Rivets, Silver, for trimming the ends of the beans.
You’ll want a cutting board: Totally Bamboo 3-Piece Bamboo Cutting Board Set; 3 Assorted Sizes of Bamboo Wood Cutting Boards for Kitchen. These seem pretty nice.
You’ll use the measuring cup to measure out your beans and milk for this recipe: Pyrex 3 Piece Measuring Cup Set, Includes 1, 2, and 4 Tempered Glass Liquid Measuring Cups, Dishwasher, Freezer, Microwave, and Oven Safe, Essential Kitchen Tools.
Let’s get crazy and dream big about these beautiful pots and pans. Cuisinart 11-Piece Cookware Set, Chef’s Classic Stainless Steel Collection 77-11G. ooo! aaa! fancy cooking gear.
Gather the ingredients
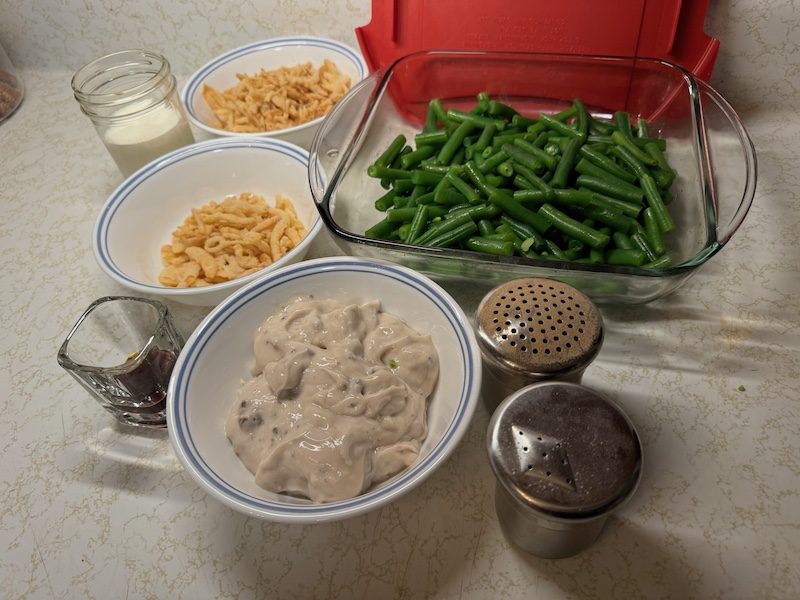
Next you are going to want to gather these simple ingredients.
Obviously, for a green bean casserole you’ll want some fresh green beans like these: 365 by Whole Foods Market, Green Beans, 32 Ounce. You’ll need at least two bags. This recipe calls for 4 cups. This is the biggest variable, depending on what is available in your area, you may end up with bulk green beans or the ones that come cleaned and prepackaged already.
I do NOT recommend using canned green beans. They are too soggy and wet, even if you do manage to drain them, it still does not come out right. Always use fresh green beans.
One can of condensed cream of mushroom soup: Amazon Fresh, Condensed Cream of Mushroom Soup, 10.5 Oz (Previously Happy Belly, Packaging May Vary). This is fine or even the Campbell’s brand which I believe is the birth of this recipe.
2% milk, like this:. 365 by Whole Foods Market, Organic 2% Milk, 128 Ounce. Whatever 2 % milk you can find in your local grocery store should be fine.
Soy Sauce like this: Amazon Brand – Happy Belly Soy Sauce, 15 fl oz (Pack of 1). Bonus If you have other recipes that use soy sauce. When I created this article, I purchased an entire bottle. Since I only used one teaspoon of it, I’ll need to find some other recipes to use it up.
Fried onion like these: French’s Original Crispy Fried Onions, 2.8 oz. These are always readily available during the Thanksgiving Holliday at most grocery stores in the U.S.
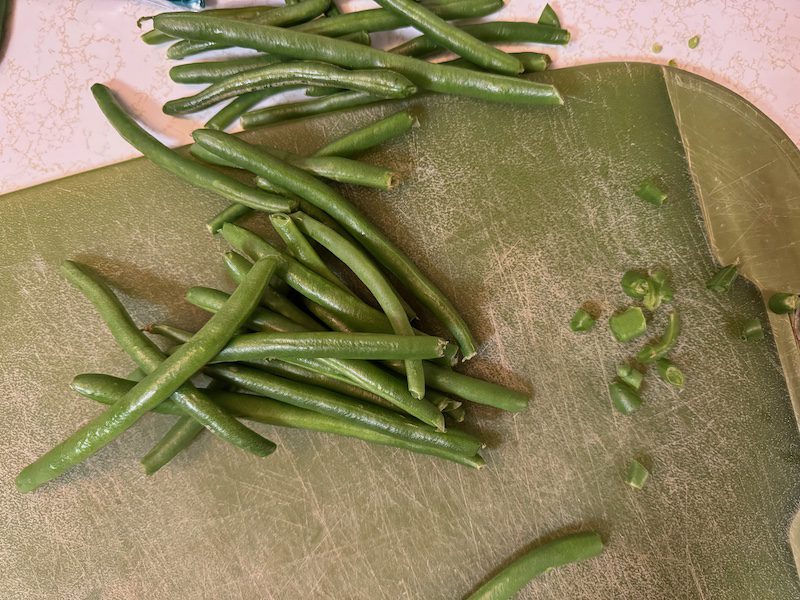
Trim and cut the fresh green beans.
Since we use fresh green beans (again, not caned green beans), we need to cut and blanch our beans. We start by cutting and trimming all the green beans. What you’ll often find is that the beans have a sharp pointy end. I don’t like these and trim them off. In other cases, some beans still have the stem attached. This needs to get trim also. I like to trim the ends of those beans that have dried cracking ends. You may not be as picky or worried about the looks of the beans, but presentation is everything and starting with nicely trimmed beans is a requirement for this recipe. At least in my kitchen.
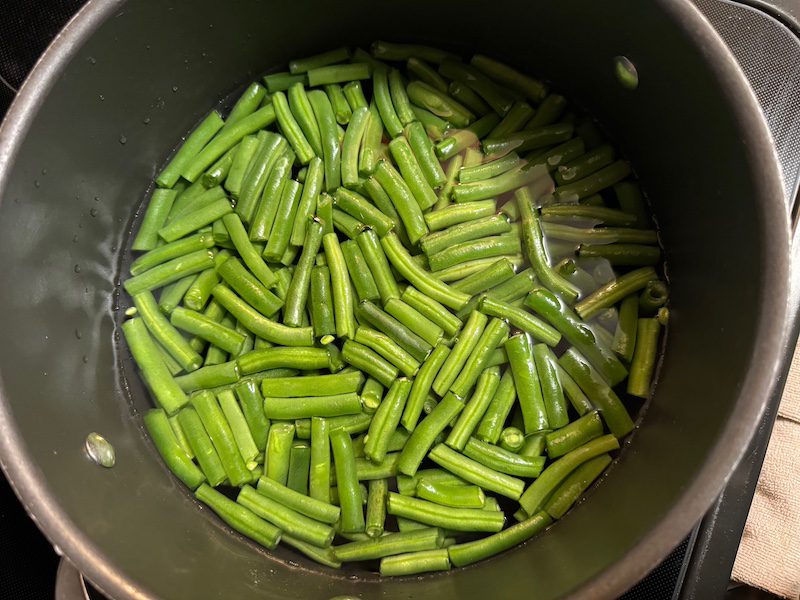
Blanch the green beans
Next we add the nicely trimmed and cut beans to a pot and bring it to a boil. We let them cook for two to three minutes, then remove them from the stove. Immediately transfer them to cold water, with ice if you have it. This stops the beans from cooking. The goal is to keep the beans tender. We don’t want them to get soft and mushy like canned green beans. In addition you’ll be cooking them again once in the baking dish. Blanching the green beans also brings out that nice green hue / color of the beans. Lovely right?
Fold in the condensed cream of mushroom soup
Don’t forget to preheat your over at 350 degrees. Especially if your oven takes a bit longer to warm up.
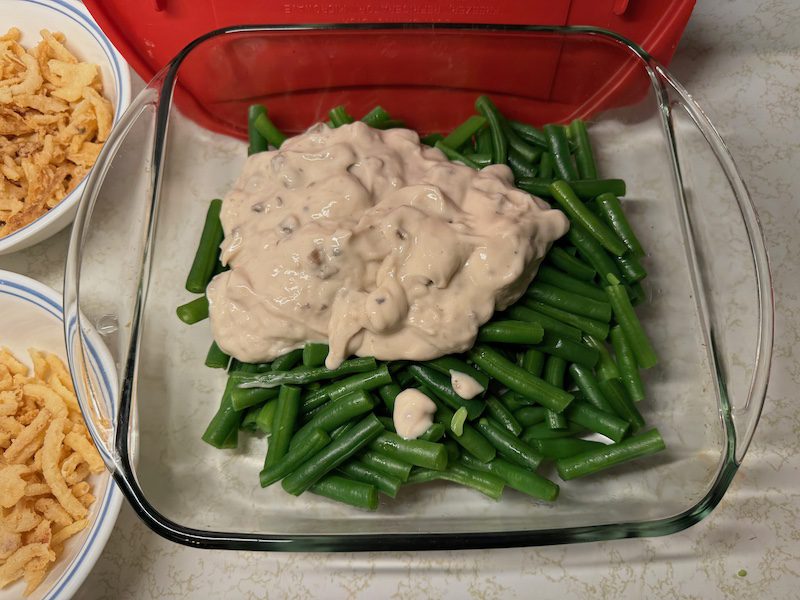
After the green beans have been blanched, I add them directly to the baking dish. Don’t forget to pat the beans dry. I usually use a napkin or paper towel for this. Don’t just toss the beans from the pot to the dish. If you do, the water on the bottom of the pot always drips into the baking dish. We don’t want that. Take the extra minute to scoop them up with a paper towel and pat them dry before adding them to the baking dish.
No need to get additional dishes dirty, just mix it right in the baking dish. An 8 x 8 glass baking dish like the one shown is the ideal size for this recipe. It accommodates the four cups of beans with the additional ingredients.
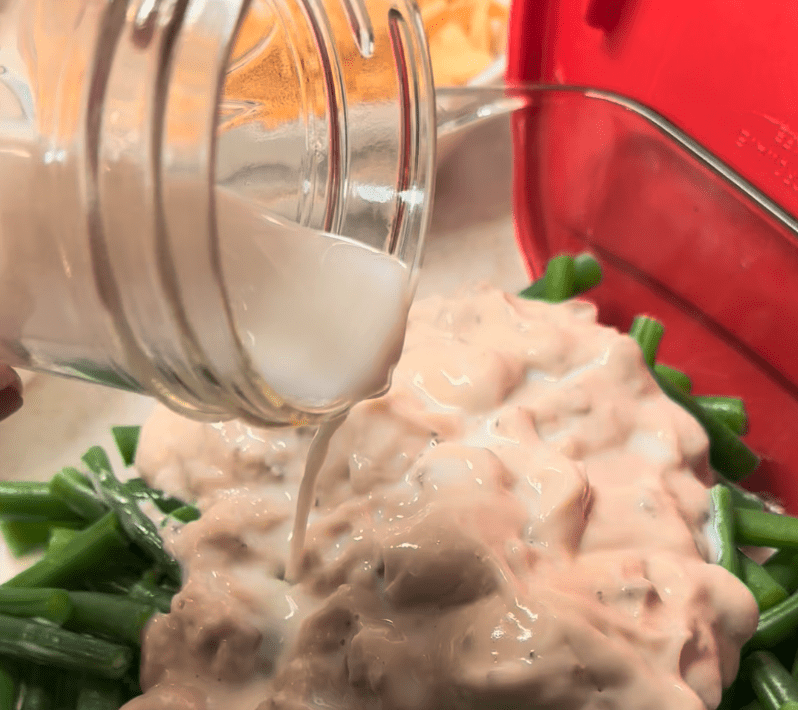
Pour in the milk
Take your 1/2 cup of milk and pour this into the dish. I had already measured out the 1/2 cup milk and had it set it aside while I was creating this article and photo. I usually have some glass jars or shot glasses to hold the wet ingredients as I’m cooking. Glass is nice as it lets you see the ingredients nicely. ooo aaa!
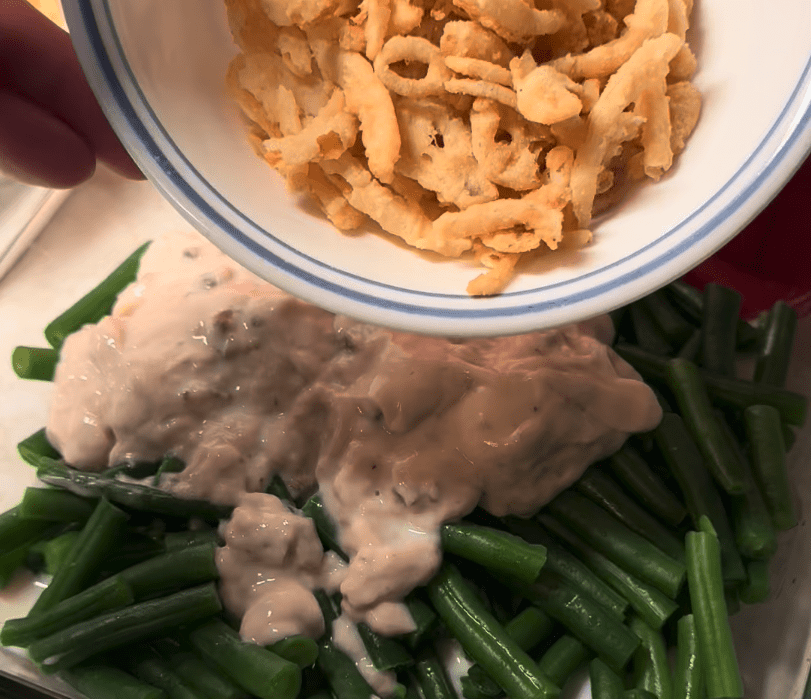
Fold in the fried onions
The recipe calls for 1 1/3 cups of fried onion. This measurement is divided. What that means is you use about 2/3 of the fried onion in the actual casserole mixture. The rest of the onion will be used after the dish has baked. Add the 2/3 cup to the dish for this step. Personal preference is key here, If you like more onion in your recipe, then add more, if not, go easy. duh!
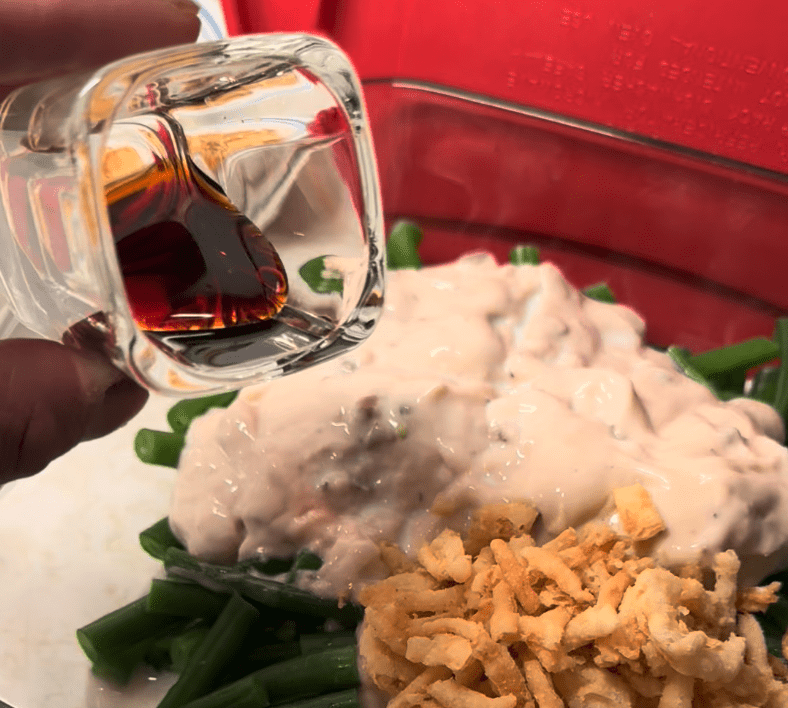
Pour in the soy sauce
Take your single teaspoon of soy sauce and pour this into the dish. I’m a dude food blogger, so I use shot glasses to cook and measure things. Here you can see my nice square thick glass, shot glass. As I write this article, I’m trying to think of another recipe that requires soy sauce. I have an entire bottle on hand. Any ideas or suggestions? Leave them in the comment section below.
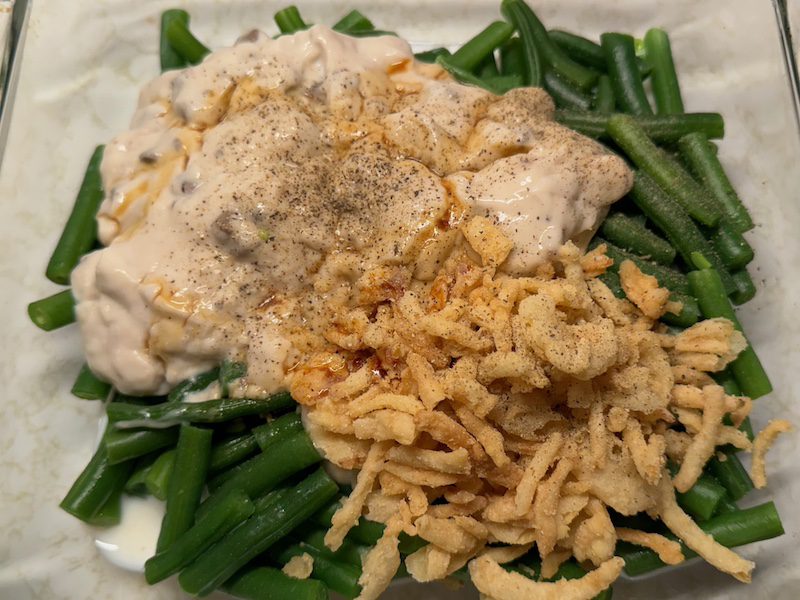
Add salt and pepper
You can only see the pepper in the image below. I’ve added some salt, but not that much. I usually leave that up to the family member who may want more salt. But for my taste, I only like a little salt. There is no measurement for this. This is another one of those, personal preferences, steps with no quantity required. Just add enough to your liking.
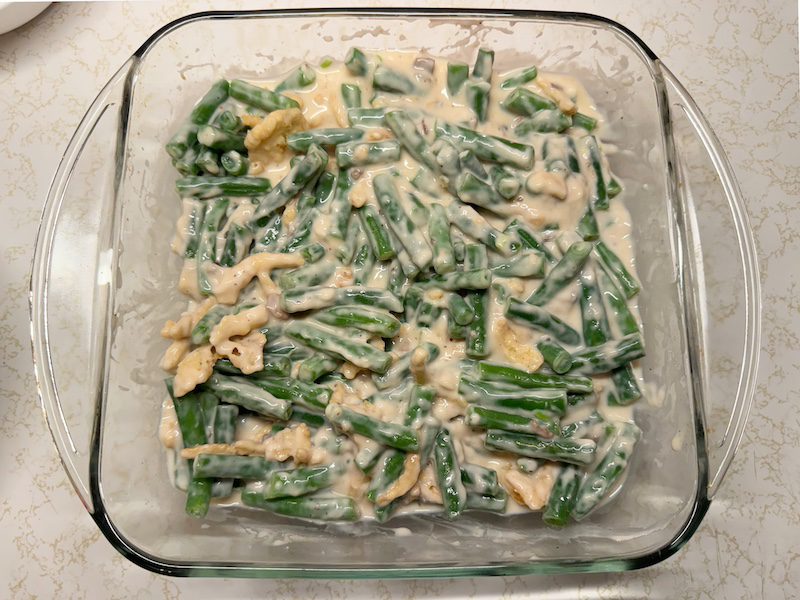
Mix it all together
I know I’ve been saying “fold this in, “pour that in,” etc.. but in reality, just add all the ingredients to the dish and then mix it. That’s pretty much how it gets done in this household. Sure, having step-by-step directions is great for this article and for blogging. But when in a hurry, throw it all together and get on with your day. Besides there are dishes waiting in the sink that need to get done. The kids need a snack and work is calling, you get the picture. Just get the job done!
Bake it
Place it in the oven and bake for 25 minutes. Remove it from the oven. At this point, my job is usually done. I bring this over to my sister’s house and complete the process over there. If you are serving this right away, then continue to the next step to finish up the process.

Finish it up
Add the remaining fried onion to the top of the dish and spread evenly. Place it back in the oven and bake for another 5 minutes or so. Just enough to brown the fried onions a little. Watch closely as you don’t want it to burn. I tend to place the dish on the upper shelf to bring it closer to the heating elements. (electric stove) This allows the onion and top of the dish to brown a little easier and quicker, its all those little details that make for a great green bean casserole.
Remove it from the oven, let cool or serve it immediately.
Awesome! you are done, sit back, relax and enjoy!
Does your family add any variety to your green bean casserole? Do you add bacon? Do you add red peppers to add color to your dish? Let us know in the comments section below.

Classic - Fresh - Green Bean Casserole
Equipment
- 8 x 8 baking dish
- 1 measuring cup
- 1 teaspoon
- 1 shot glass
- 1 mason jar
- 1 small dish
Ingredients
- 4 cups fresh green beans trimmed and cut
- 1 can 10.5 condensed cream of mushroom soup
- 1 1/3 cups French fried onions (divided)
- 1/2 cup 2% milk
- 1 tsp soy sauce
- 1 dash black pepper (personal preference)
- 1 dash salt (personal preference)
Instructions
- Trim and cut the fresh green beans.
- Blanch fresh green beans. Add green beans to a pot, bring this to a boil for about 2 to 3 minutes.
- Remove from stove and immediately transfer the beans to a pot of cold water with ice if you have it. This stops the beans from cooking. Your goal is to make the beans tender but not mushy. Cooling them quickly is the trick for this recipe.
- Pat the beans dry and transfer to your baking dish.
- Fold in the condensed cream of mushroom soup.
- Pour in the milk.
- Pour in the soy sauce.
- Fold in the French fried onions.
- Add salt and pepper.
- Mix and combine it all together.
- Bake on 350 degrees for 25 minutes.
- Remove from oven, add French fried onion to the top.
- Return dish to the oven and let the French fried onions brown.
- Remove from oven and let cool a little before serving.